
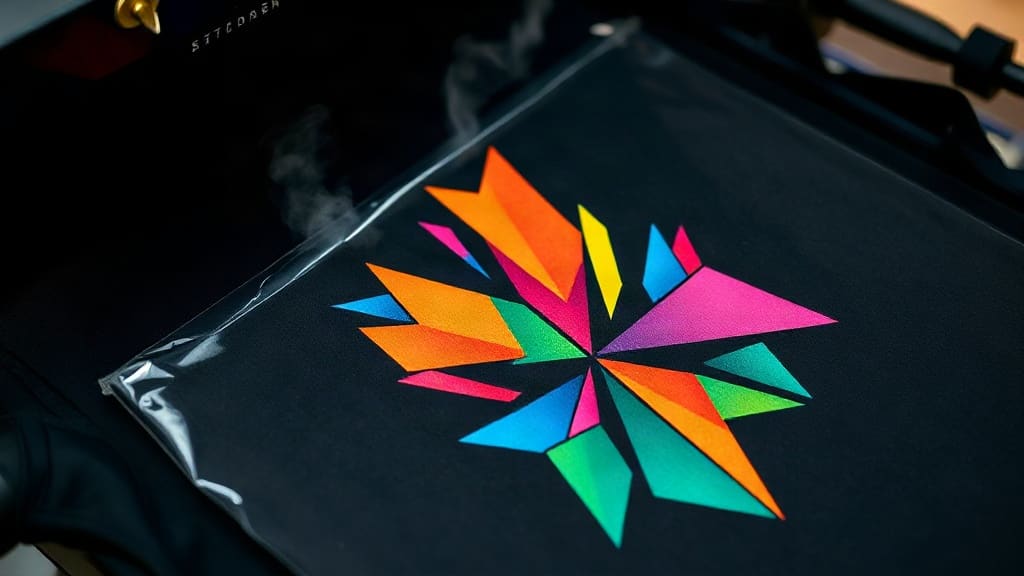
DTF transfers have revolutionized the custom apparel industry, offering a versatile and cost-effective way to produce stunning designs on a wide range of fabrics. Whether you're a small business owner, a print shop operator, or a hobbyist, mastering the art of DTF printing can elevate your products and delight your customers. In this comprehensive guide, we'll walk you through everything you need to know to create vibrant, long-lasting DTF transfers that stand out from the competition.
We'll cover the essential materials, step-by-step printing and application processes, common pitfalls to avoid, and expert tips to ensure your prints maintain their brilliance wash after wash. By the end, you'll have the knowledge and confidence to produce professional-grade transfers that impress even the most discerning clients.
Understanding DTF Printing: A Quick Overview
Direct-to-film (DTF) printing is a technique where designs are printed onto a special PET film, coated with adhesive powder, and then heat-pressed onto fabric. Unlike traditional screen printing or heat transfer vinyl, DTF offers several advantages: it works on cotton, polyester, blends, and even tricky materials like nylon and leather, and it delivers exceptional color vibrancy and durability.
The process involves three main stages: printing the design onto the film, applying the adhesive powder, and curing the powder. Then, when you're ready to apply the transfer, you simply heat press it onto your garment, peel the film, and you're done. It's a streamlined workflow that's perfect for on-demand production and small to medium runs.
Essential Materials for High-Quality DTF Transfers
To achieve top-notch results, you need to invest in the right materials. Here's what you'll need:
1. DTF Printer
While you can convert a standard inkjet printer to print DTF, using a dedicated DTF printer is highly recommended. These printers are equipped with pigment-based inks, a white ink circulation system to prevent clogging, and are designed to handle the demands of DTF production. Popular options include the Epson SureColor F-series and specialized DTF printers from brands like L1800 and P600.
2. PET Film
The film you print on is crucial. Look for a high-quality PET film that is specifically designed for DTF. It should have a coating that holds the ink well and releases cleanly after pressing. Films come in different thicknesses; a 75-micron film is a good balance of flexibility and durability. Ensure the film is compatible with your printer's ink and drying system.
3. DTF Inks
Use pigment-based inks that are formulated for DTF printing. These inks provide excellent color density and are resistant to fading. White ink is particularly important because it serves as the base layer for your design, making colors pop on dark garments. You'll need CMYK plus white. Some systems also use a clear or varnish ink for added durability.
4. Adhesive Powder
This is a hot-melt adhesive powder that is applied to the wet ink on the film. It comes in various particle sizes, with fine powder being ideal for detailed designs and coarse powder for high-opacity prints. The powder is activated during the curing process, creating a strong bond between the transfer and the fabric.
5. Heat Press
A good heat press is essential for both curing the powder and applying the transfer. You'll need a press that can maintain consistent temperature and pressure. A clamshell or swing-away press with a digital controller is ideal. You'll also need a Teflon sheet or parchment paper to protect the garment and transfer during pressing.
6. Curing Oven or Heat Gun
After applying the powder, you need to cure it to melt and set the adhesive. A DTF curing oven is the most efficient option, as it ensures even heat distribution. If you're just starting, a heat gun can work, but it's more labor-intensive and can result in uneven curing.
Step-by-Step Guide to Creating DTF Transfers
Now that you have your materials ready, let's dive into the process. Follow these steps carefully to produce high-quality transfers.
Step 1: Prepare Your Design
Start with a high-resolution design (300 DPI) in CMYK mode. Use graphic design software like Adobe Photoshop or Illustrator. Ensure your design has a white underbase if it contains colors that need to pop on dark fabrics. In DTF, the white ink is printed first, followed by the CMYK colors. You can set up your file with a white layer or use a RIP (Raster Image Processor) software that automatically generates the white channel.
Pay attention to the size of your design and the film width. If your design is larger than the film, you'll need to print it in sections and align them later, but it's best to keep designs within the printable area.
Step 2: Print the Design onto the PET Film
Load the PET film into your printer with the printable side facing up (usually the rough side). Set your printer settings for DTF printing. Print the design, ensuring that the white ink layer is printed first or as per your RIP software's configuration. The film should be completely dry before moving to the next step. Some printers have a built-in dryer, but if not, you may need to use a heat gun or let it air dry for a few minutes.
Step 3: Apply Adhesive Powder
While the ink is still wet or slightly tacky, sprinkle the adhesive powder evenly over the entire printed area. It's best to do this over a tray to collect excess powder. Ensure the powder completely covers the ink, as any missed spots will result in poor adhesion. After applying, shake off the excess powder gently. The powder should stick to the wet ink.
For best results, use a powder applicator or a simple sieve. Some printers come with an integrated powder application unit that shakes and sets the powder automatically.
Step 4: Cure the Powder
To cure the powder, you need to heat it to around 160-170°C (320-338°F) for a few minutes. This melts the adhesive and bonds it to the ink. You can use a curing oven specifically designed for DTF, or if you're using a heat press, you can place the film on the press with the powder side up, cover with a Teflon sheet, and press for about 60 seconds at that temperature. However, a curing oven is more efficient for large quantities.
The cured film should have a slightly glossy finish and the powder should be fully melted. If it's not, increase the curing time or temperature slightly.
Step 5: Store or Proceed to Application
Once the transfers are cured, they can be stored for later use or applied immediately. If storing, keep them flat in a cool, dry place to prevent sticking. When you're ready to apply, proceed to the next step.
Step 6: Apply the Transfer to Your Garment
Preheat your heat press to about 160-170°C (320-338°F) and set the pressure to medium-firm. Place your garment on the press and pre-press it for a few seconds to remove wrinkles and moisture. Position the DTF transfer on the garment with the film side facing up (the design is on the bottom side). Cover with a Teflon sheet or parchment paper.
Press for about 15-20 seconds. The exact time may vary based on your press and the material. After pressing, peel the film while it's still hot (hot peel) or wait a few seconds (cold peel) depending on the film's instructions. For most DTF films, hot peel gives a smoother finish.
Once peeled, your design is ready. For added durability, you can press again with a Teflon sheet for a few seconds to ensure the adhesive is fully set.
Tips for Achieving Vibrant, Long-Lasting Prints
To ensure your DTF transfers look great and stand the test of time, keep these tips in mind:
1. Use High-Quality Inks and Film
Invest in reputable brands. Cheap films may not release properly, and low-quality inks can fade quickly. It's worth the extra cost for reliability and performance.
2. Calibrate Your Printer Regularly
Perform regular nozzle checks and cleanings to prevent clogging, especially with white ink. Proper color calibration ensures accurate color reproduction.
3. Optimize Your Design for Dark Fabrics
For dark garments, ensure a solid white underbase. You can also increase the white ink density to prevent the garment color from showing through. Test on a sample to find the right opacity.
4. Control Temperature and Pressure
Too low a temperature or pressure will result in poor adhesion, while too high can cause bleeding or film distortion. Follow the recommended settings for your specific film and powder. Always test on a sample fabric first.
5. Handle Transfers with Care
When storing or handling cured transfers, avoid scratching the adhesive side. Use clean, dry hands or gloves. Keep them flat to prevent warping.
6. Wash and Care Instructions
Advise your customers to wash garments inside out in cold water and avoid using bleach or fabric softeners. Tumble dry on low or hang dry. This will extend the life of the print.
Common Mistakes to Avoid in DTF Printing
Even experienced printers can run into issues. Here are some common pitfalls and how to avoid them:
1. Inadequate Powder Coverage
If you don't apply enough powder, the design may crack or peel after washing. Ensure the entire printed area is covered, and gently shake off excess rather than skimping on powder.
2. Over-Curing or Under-Curing
If the powder isn't fully melted, the transfer won't adhere properly. Conversely, over-curing can cause the film to curl or the adhesive to become brittle. Follow the curing guidelines and test regularly.
3. Wrong Peel Temperature
Some films require a cold peel, others hot. Using the wrong method can result in a rough surface or adhesive failure. Read the manufacturer's instructions carefully.
4. Ignoring Fabric Compatibility
While DTF works on many fabrics, some materials like performance polyester or water-repellent coatings require special handling. Test on a small area first.
5. Not Using a Teflon Sheet
Direct contact between the heat press and the film can cause sticking or scorching. Always use a protective sheet.
Frequently Asked Questions
How long do DTF transfers last on garments?
With proper application and care, DTF transfers can last for many washes, typically 50 or more. The print remains vibrant and doesn't crack easily, provided you follow the correct pressing and washing instructions.
Can DTF transfers be used on any fabric?
DTF is incredibly versatile and works on cotton, polyester, blends, and even nylon and leather. However, the adhesion may vary on very stretchy or textured fabrics. It's always best to test on a sample to ensure optimal results.
What is the difference between DTF and DTG printing?
DTG (Direct-to-Garment) prints directly onto the fabric, while DTF prints onto a film that is then transferred. DTF is often more versatile, as it works on a wider range of fabrics and allows for pre-printing transfers that can be applied later. DTG is better suited for soft, cotton-rich garments but requires the garment to be placed in the printer.
Do I need a special printer for DTF transfers?
While you can convert a standard inkjet printer, it's highly recommended to use a dedicated DTF printer. These have features like white ink circulation and better ink handling that prevent clogging and ensure consistent output. They also often come with a built-in powder applicator and dryer for a streamlined workflow.
How do I achieve brighter colors for DTF transfers?
To get bright, vibrant colors, ensure you're using high-quality pigment inks and a proper white underbase. Increase the number of white ink passes if your printer allows it. Also, ensure the film is of good quality to hold the ink without bleeding.
Conclusion
Mastering DTF transfers opens up endless possibilities for your custom printing business. By investing in the right materials, following the correct procedures, and paying attention to the details we've outlined, you can produce stunning, durable transfers that your customers will love. Remember, practice makes perfect. Start with small projects, experiment with different settings, and soon you'll be creating professional-grade prints with confidence.
Whether you're printing t-shirts, hoodies, tote bags, or promotional items, DTF transfers offer a flexible, high-quality solution that sets you apart from the competition. So, get your equipment ready, try out these tips, and watch your designs come to life with incredible vibrancy and longevity.