
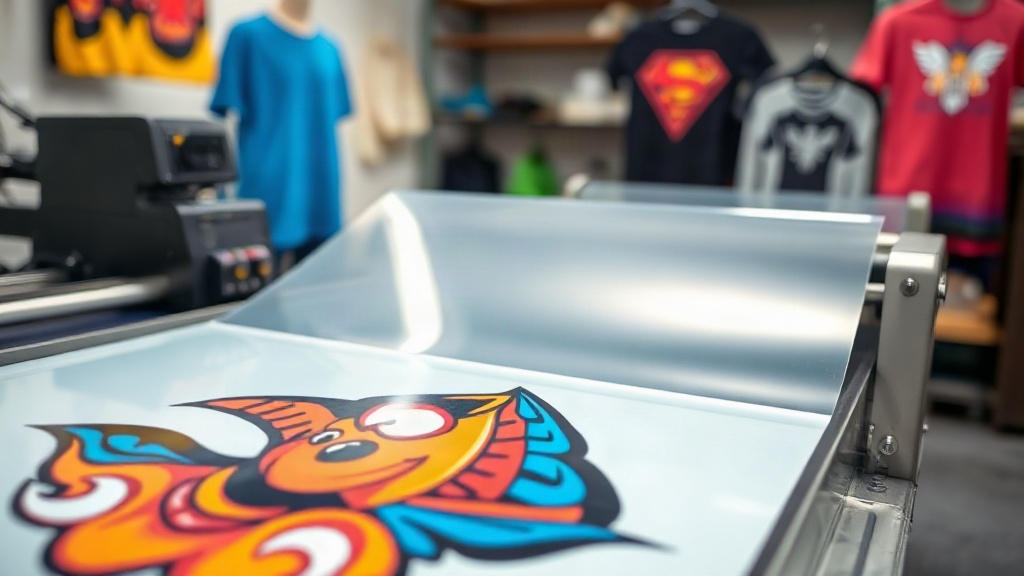
When you first encounter DTF printing, it might seem like magic: a design printed on a special film, dusted with powder, and then pressed onto a shirt in seconds. But behind that simplicity lies a precise process that, when done right, yields stunning, wash-resistant results on almost any fabric. Whether you're a small business owner looking to expand your product line or a hobbyist eager to try something new, understanding the nuances of DTF printing can save you time, money, and frustration. In this guide, I'll walk you through the entire workflow, sharing insights I've gathered from countless hours of trial and error, so you can achieve professional-quality transfers from day one.
What Exactly Is DTF Printing?
DTF stands for Direct to Film. Unlike DTG (Direct to Garment), which prints directly onto the fabric, DTF involves printing your design onto a PET film, coating it with a hot-melt adhesive powder, and then transferring it to the garment using a heat press. This two-step process opens up a world of possibilities: you can print on cotton, polyester, blends, and even treated nylon, without the need for pre-treatment or specialty inks. The result is a soft, stretchable transfer that feels like part of the fabric and holds up wash after wash.
The DTF Printing Process Step by Step
To get consistent results, you need to follow a series of steps with attention to detail. Let's break it down.
1. Design Preparation
Start with a high-resolution image, ideally 300 DPI at the final print size. Vector files are great, but high-quality PNGs work too. Remember that DTF printing uses CMYK plus white ink, so colors may appear slightly different from what you see on screen. If color accuracy is critical, consider soft-proofing your design in your RIP software.
2. Printing onto Film
Load your DTF film into the printer, ensuring the coated side faces the printhead. Most films have a matte side (print side) and a glossy side (back). Printing on the wrong side will ruin the transfer. Your printer will lay down a layer of white ink first, followed by CMYK. The white layer is crucial because it acts as a base, making colors pop on dark garments.
3. Applying Adhesive Powder
While the ink is still wet, sprinkle the hot-melt adhesive powder evenly over the printed area. You can use a shaker bottle or an automatic powder applicator. Then, shake off the excess and return it to the container for reuse. The powder should stick only to the wet ink; if it sticks elsewhere, you've applied too much. After powdering, cure the film in an oven or with a heat gun until the powder melts and becomes glossy. This usually takes 2-3 minutes at 160°C (320°F), but always follow your powder's instructions.
4. Transferring to the Garment
Set your heat press to the recommended temperature, typically 150-160°C (300-320°F) with medium pressure. Pre-press the garment for a few seconds to remove moisture. Place the transfer on the fabric with the printed side up, cover it with a Teflon sheet or parchment paper, and press for 10-15 seconds. Let it cool completely before peeling the film. For a matte finish, peel cold; for a glossy look, peel hot. I prefer cold peel for a softer feel.
Common Challenges and How to Overcome Them
Even with the best equipment, issues can arise. Here are some frequent problems and their solutions.
Weak Adhesion or Cracking
If your transfer peels off after washing, it's likely due to insufficient powder, under-curing, or too little pressure during transfer. Ensure the powder is fully melted and the transfer is pressed firmly. Also, check that your fabric is clean and dry before pressing.
Color Fading or Dullness
Dull colors often result from too little white ink or over-curing the film. Make sure your printer's white ink density is set correctly, and avoid overheating during the powder cure. Using a higher-quality film can also improve ink absorption.
Film Sticking to the Press
This usually happens when the transfer is pressed without a cover sheet or when the temperature is too high. Always use a Teflon sheet or parchment paper, and double-check your temperature settings.
Choosing the Right Supplies for DTF Printing
Not all films and powders are created equal. Here's what to look for.
Film
Opt for a film that is compatible with your printer and offers good ink absorption. Thicker films (75-100 microns) are generally easier to handle and less prone to curling. Some films are designed for hot peel, others for cold; choose based on your preference and workflow.
Powder
TPU-based powders are the standard for DTF printing. They provide excellent elasticity and wash durability. Particle size matters: finer powders (80-200 microns) give a smoother finish, while coarser powders are more forgiving but may feel grainier. Experiment to find what works best for your designs.
Inks
Use DTF-specific inks, which are formulated to work with the film and powder. Pigment inks are common, but some printers use dye-based inks. Always follow the manufacturer's recommendations for your printer model.
DTF vs. Other Printing Methods
How does DTF stack up against DTG, screen printing, and vinyl? Here's a quick comparison.
- DTG: Best for 100% cotton, but requires pre-treatment and can be slow. DTF works on more fabrics and doesn't need pre-treatment.
- Screen Printing: Cost-effective for large orders, but setup is time-consuming and colors are limited. DTF excels at small batches and full-color designs.
- Vinyl: Great for simple designs, but layering multiple colors is tedious. DTF handles complex gradients with ease.
For many small businesses, DTF offers the best balance of versatility, cost, and quality.
Frequently Asked Questions
Can I use DTF printing on dark garments?
Absolutely. DTF printing uses a white ink base, so it works beautifully on dark colors. Just ensure your white ink layer is thick enough to prevent the fabric color from showing through.
How do I wash DTF-printed garments?
Turn the garment inside out and machine wash cold. Avoid bleach and fabric softeners. Tumble dry low or hang dry. With proper care, your DTF prints will last for years.
What's the shelf life of DTF transfers?
If stored in a cool, dry place away from direct sunlight, DTF transfers can last up to six months. For longer storage, keep them in a sealed bag with a desiccant packet.
Do I need a special printer for DTF?
You can convert a standard inkjet printer to DTF by using DTF inks and film, but dedicated DTF printers are available and often yield better results. If you're serious about production, invest in a printer designed for DTF.
Can I layer DTF transfers?
Yes, you can layer DTF transfers, but it's tricky. Press the first transfer, then apply the second on top, ensuring proper alignment. Use a lower temperature for the second press to avoid disturbing the first layer.
Final Thoughts
DTF printing is a game-changer for anyone looking to create custom apparel with minimal fuss. With the right supplies and a bit of practice, you'll be producing vibrant, durable transfers that impress your customers and stand the test of time. Remember to start with small tests, keep a log of your settings, and don't be afraid to experiment. Happy printing!