
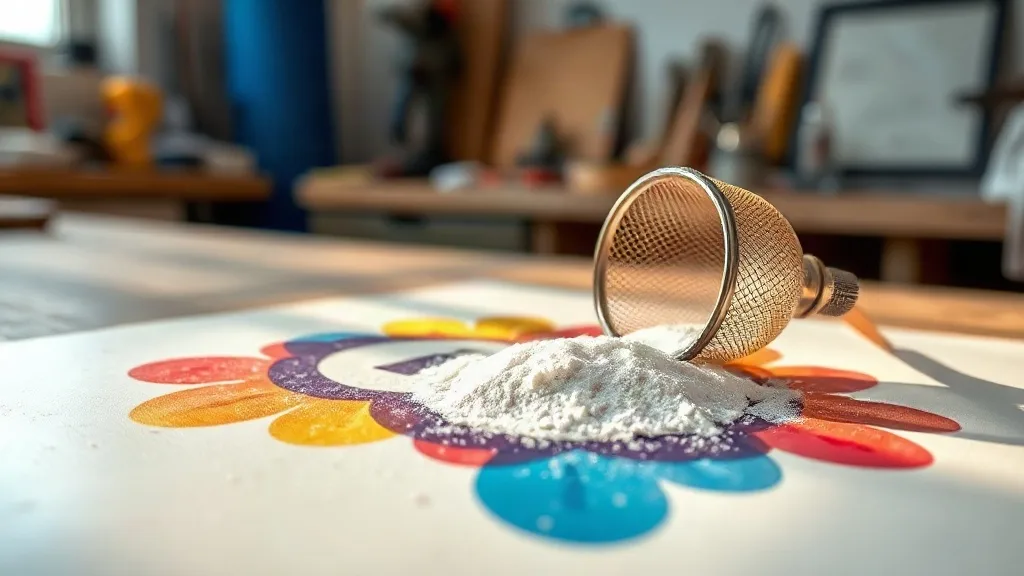
Ask a room full of garment decorators what ruins a dtf print and you will hear about humidity, bad profiles, cheap film. Rarely does anyone mention the powder. Yet the thermoplastic adhesive you shake over a wet print is the single layer that decides whether that design survives fifty washes or delaminates on the second one. I learned this the expensive way after watching a batch of 200 hoodies come back from a customer with edges lifting like old wallpaper. The printer was fine. The film was fine. The powder was applied by eye, in a hurry, on a humid afternoon.
This guide is about that neglected step. Not the whole workflow, just the adhesive: what it does, how to choose it, how much to use, and how to cure it so your dtf transfers behave the way the marketing promises.
What the powder actually does
A dtf print is essentially a sandwich. The film carries your ink, the ink carries colour, and the powder turns that ink into something you can heat press onto fabric. Without adhesive, the printed layer has nothing to bond with, so it sits on the surface of the garment until friction or a washing machine removes it.
The powder is a hot-melt adhesive, usually a polyurethane or polyester blend, ground to a fine grit. When it melts, it flows into the ink and forms a continuous film. When it cools, that film is what fuses to cotton, polyester or a blend under pressure. Get the melt right and you have a bond that flexes with the fabric. Get it wrong and you have a crust that cracks at the first stretch.
Why grit size matters more than brand
Adhesive powder is graded by particle size, and the difference is not cosmetic. Fine powder, roughly in the 0 to 80 micron range, melts fast and gives a soft hand. It is the right choice for detailed work, small lettering and anything printed on lightweight or stretchy fabric. Coarse powder, closer to 150 to 200 microns, needs more heat but delivers a thicker, more forgiving bond that holds up on heavy fleece and canvas.
Most shops settle on a mid-range powder as a default and keep a finer grade for delicate jobs. If you print a lot of baby onesies or performance wear, a fine-grade adhesive is worth the slight cost premium because it keeps the print from feeling like a plastic patch.
Applying powder without guessing
The instinct for most beginners is to pour generously and shake off the excess. That wastes material and, worse, leaves uneven coverage that shows up as patchy adhesion months later. A few habits make this stage repeatable.
- Print while the ink is still wet. Powder applied to dried ink will not sink in, and you will get a dusty surface that cures unevenly.
- Use a shaker bottle with a fine mesh lid rather than a scoop. Even distribution beats volume every time.
- Shake the print gently, not aggressively. You want the powder to settle into the wet ink, not bounce off it.
- Tilt the film and tap the back to reclaim excess into a clean container. Reusing powder is fine as long as it has not picked up lint or moisture.
A cheap kitchen sieve works in a pinch, but a purpose-made shaker pays for itself within a week of production. It also keeps your bench cleaner, which matters when you are running orders back to back.
How much is enough
Coverage should look even and matte, with no wet ink visible through the powder. If you can see glossy patches, you missed a spot. If the surface looks like a snowdrift, you used too much and the excess will not melt fully, leaving a grainy texture that transfers straight onto the shirt.
The test I use: hold the film at a low angle under a bright light. Any shine means bare ink. Any clumping means too much. Aim for a uniform, thin layer that just covers the design.
Curing: the part that catches everyone
Powder needs heat to melt, and the melt has to be complete. Under-cured adhesive looks fine on the film and fails in the wash. Over-cured adhesive yellows, becomes brittle and can scorch the film carrier.
Most manufacturers publish a curing window, typically somewhere between 160 and 170 degrees Celsius for 60 to 90 seconds, but the number that matters is what happens to your specific powder on your specific film. A few practical checks:
- Watch the powder as it melts. It should go from matte to glossy and then settle into a smooth, slightly tacky film. If it stays grainy, you need more time or more heat.
- Check the edges. Corners and thin lines cure fastest and are the first to scorch. If your edges look brown, back off the temperature.
- Let the film cool completely before stacking or peeling. Warm film distorts, and a distorted print will not press flat.
Humidity is the quiet saboteur here. Powder absorbs moisture from the air, and damp powder cures unevenly. If your workshop sits above 60 percent relative humidity, store opened powder in an airtight container with a silica packet and consider running a dehumidifier during long production runs.
Matching powder to fabric
The same adhesive will not perform identically on every garment. Cotton takes a strong bond readily. Polyester blends, especially those with a slick finish or a moisture-wicking coating, resist adhesion and need a slightly higher press temperature or a longer dwell.
Heavy fleece and canvas benefit from a coarser powder because the fabric surface is uneven and a thicker adhesive layer bridges the gaps. Stretch fabrics need a fine powder and a press that allows the print to flex rather than sit rigid on top.
If you are sourcing dtf transfers near me for resale rather than printing in-house, ask the supplier which powder grade they use and what fabric it is rated for. A supplier who cannot answer that question is probably not tracking their own cure temperatures either.
Diagnosing the common failures
Edges peeling after a few washes
Almost always under-cured adhesive at the perimeter, where heat transfer is least efficient. Increase dwell time slightly and make sure the press platens are level. A press with uneven pressure cures the centre and starves the edges.
Print feels stiff or plastic-like
Too much powder, or a coarse grade on a lightweight fabric. Reduce coverage and switch to a finer adhesive. A thinner adhesive layer flexes better and feels closer to the garment.
Powder will not melt at all
Check humidity first, then temperature. Damp powder clumps and resists melting. If the powder is dry and still will not flow, your oven or press may be running cooler than the display suggests. An infrared thermometer is a worthwhile investment.
White residue on dark garments
Excess powder that never melted. Shake off more thoroughly before curing, and inspect the film before it goes into the oven.
Storage and shelf life
Adhesive powder does not expire quickly, but it does degrade with moisture exposure. Keep it sealed, keep it cool, and keep it away from direct sunlight. A five-kilo bag stored properly will last a year or more. The same bag left open on a bench in a humid room can become unusable within weeks.
Label your containers with the grade and the date opened. When a print fails, you want to know whether the powder was fresh or had been sitting since spring.
Frequently asked questions
Can I reuse powder that has been shaken off a film?
Yes, provided it is clean and dry. Sieve it to remove lint and clumps, and store it separately from fresh powder. Powder that has been through a curing oven should not go back into the shaker, because partially melted granules will not flow evenly the second time.
Do I need different powder for white and colour inks?
Not usually. The adhesive bonds to the ink layer regardless of pigment. What changes is the amount of ink laid down. White ink is thicker, so it needs slightly more powder to cover fully, while thin colour layers need less.
How do I know if my powder is too old?
Fresh powder flows freely and looks like fine sand. Old or damp powder clumps, sticks to the sides of the container and smells faintly musty. If it does not shake out of the bottle evenly, replace it. The cost of a new bag is trivial next to a ruined order.
Can I cure DTF powder with a heat press instead of an oven?
You can, but it is harder to control. A press cures the powder under direct contact, which can flatten the texture and scorch thin films. If you go this route, use low pressure, a protective sheet and short intervals, checking the film between each pass.
Why does my print crack after the first wash even though the transfer looked perfect?
Cracking usually points to over-curing, which makes the adhesive brittle, or to pressing the transfer onto a fabric that stretches more than the cured film can accommodate. Check your cure temperature first, then consider a finer powder and a slightly lower press temperature with a longer dwell.