
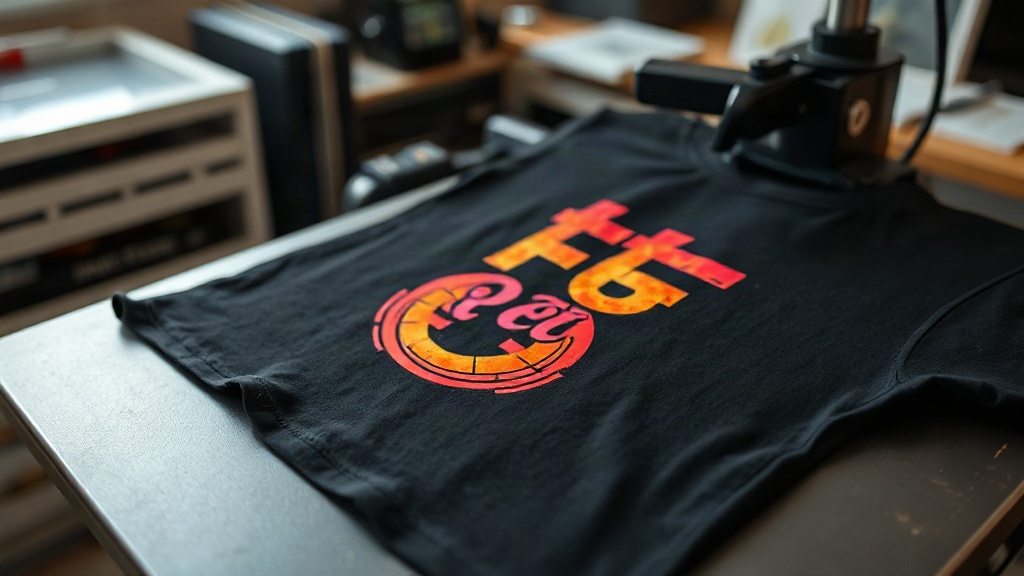
If you've been exploring custom apparel printing, you've likely encountered DTF Transfers. This innovative technology is rapidly becoming a favorite among print shops, small business owners, and DIY enthusiasts for its versatility and stunning results. Unlike traditional methods that require specific fabrics or complicated setups, DTF Transfers offer a straightforward path to vibrant, durable prints on almost any material. In this guide, we'll walk you through everything you need to know to achieve flawless prints and avoid common pitfalls.
What Are DTF Transfers?
DTF Transfers (Direct to Film) are a type of heat-applied transfer that involves printing a design onto a special PET film, coating it with a hot-melt adhesive powder, and then using a heat press to transfer the design onto a garment. The process begins with a digital printer that lays down CMYK plus white ink onto the film. The white ink acts as a base, allowing the colors to pop on both light and dark fabrics. Once printed, the film is dusted with adhesive powder, which ensures the design bonds permanently to the fabric when heat and pressure are applied.
The beauty of DTF Transfers lies in their simplicity. You don't need to pre-treat the fabric, and you can transfer onto a wide range of materials, including cotton, polyester, blends, and even some synthetic fabrics. This makes them incredibly versatile for custom t-shirts, hoodies, tote bags, and more.
Why Choose DTF Transfers Over Other Methods?
When it comes to decorating apparel, several methods compete for attention: screen printing, DTG (Direct to Garment), vinyl cutting, and sublimation. Each has its strengths, but DTF Transfers stand out for several reasons.
Versatility Across Fabrics
Unlike sublimation, which requires polyester or specially coated surfaces, DTF Transfers adhere beautifully to cotton, polyester, and blends. This means you can order a batch of mixed-fabric garments and use the same transfer for all of them. For businesses that offer custom apparel, this eliminates the need to stock multiple transfer types.
No Weeding or Cutting
If you've ever spent hours weeding vinyl, you'll appreciate that DTF Transfers require no weeding. The design is printed and ready to press after powdering and curing. This saves enormous time, especially for intricate designs with fine details.
Vibrant Colors and Fine Details
DTF Transfers can reproduce photographic images, gradients, and fine lines with remarkable accuracy. The white ink base ensures that colors remain vibrant even on dark garments, unlike DTG which may require multiple passes and still look faded on blacks.
Durability
When applied correctly, DTF Transfers are extremely durable. They withstand repeated washing without cracking, peeling, or fading. This makes them ideal for workwear, sports jerseys, and everyday apparel that sees heavy use.
The DTF Transfer Process Step by Step
To achieve flawless results, it's essential to understand each stage of the DTF Transfers process. Here's a detailed breakdown.
1. Design Preparation
Start with a high-resolution image. Vector files are ideal, but high-quality PNGs (300 DPI) work well too. Remember that the design will be printed in reverse, so make sure any text is mirrored. Your RIP software will handle this automatically if you set it correctly.
2. Printing
Load the PET film into your DTF printer. The printer lays down CMYK inks followed by a white ink layer. The white ink is crucial for opacity on dark fabrics. Ensure your printer is calibrated and the ink levels are sufficient. Clogged nozzles can lead to banding, so run a nozzle check before printing.
3. Powdering
While the ink is still wet, apply hot-melt adhesive powder evenly over the printed area. You can use a powder shaker or manually sprinkle it. Then, shake off the excess powder. The powder should only stick to the wet ink.
4. Curing
Place the film in a curing oven or under a heat press for a short time (typically 2-3 minutes at 160°C/320°F). The powder melts and becomes tacky. Avoid over-curing, as it can make the transfer brittle. Once cured, the film can be stored for later use.
5. Transferring
Set your heat press to the recommended temperature (usually 160°C/320°F) and pressure (medium to high). Place the transfer on the garment with the design facing up. Press for 10-15 seconds. Then, peel the film off while it's still hot (hot peel) or after it cools (cold peel), depending on the film type. Most modern DTF Transfers are hot peel for efficiency.
Common Mistakes and How to Avoid Them
Even with a straightforward process, issues can arise. Here are some common pitfalls and their solutions.
- Insufficient pressure: If the transfer doesn't adhere fully, increase the pressure on your heat press. Uneven pressure can cause parts of the design to lift.
- Wrong temperature: Too low, and the adhesive won't activate; too high, and you may scorch the fabric or the film. Always test with a sample.
- Over-powdering: Excess powder can create a rough texture and dull the colors. Shake off as much as possible before curing.
- Not pre-pressing the garment: Moisture in the fabric can cause steam and prevent proper adhesion. Always pre-press for 5-10 seconds to remove wrinkles and moisture.
- Peeling at the wrong time: Check your film's instructions. Peeling too early or too late can ruin the transfer.
Applications of DTF Transfers
DTF Transfers are not limited to t-shirts. They can be used on hoodies, jeans, jackets, caps, and even canvas shoes. The ability to print on dark colors and blends opens up endless possibilities for customization. Small businesses can offer personalized products without investing in multiple printing technologies. Additionally, DTF Transfers are great for promotional items, team uniforms, and one-off custom pieces.
Tips for Flawless DTF Transfers
To ensure your DTF Transfers look professional and last long, follow these expert tips:
- Store unused transfers in a cool, dry place away from direct sunlight.
- Use a heat press rather than an iron for consistent temperature and pressure.
- Test your settings on a scrap piece of fabric before pressing the final garment.
- Clean your heat press platen regularly to avoid residue transferring to your design.
- For stretchy fabrics, use a stretch additive in the powder or choose a film designed for stretch.
Frequently Asked Questions About DTF Transfers
What fabrics can I use with DTF transfers?
DTF Transfers work on a wide range of fabrics, including cotton, polyester, cotton-poly blends, nylon, and even leather. They are not recommended for fabrics with a heavy waterproof coating or those that cannot withstand heat.
How long do DTF transfers last?
With proper application and care, DTF Transfers can last as long as the garment itself. Wash inside out in cold water and avoid ironing directly on the print to maximize longevity.
Can I use DTF transfers on dark colors?
Absolutely. The white ink base in DTF Transfers ensures that colors remain vibrant on dark fabrics. This is one of the key advantages over DTG printing.
Do I need a special printer for DTF transfers?
Yes, you need a DTF printer that uses pigment inks and can print white ink. Alternatively, you can purchase pre-printed DTF Transfers from a supplier and apply them with a heat press.
What is the difference between DTF and DTG?
DTG prints directly onto the garment, while DTF Transfers are printed on a film and then transferred. DTF offers better durability and works on more fabric types, while DTG is limited to cotton and requires pre-treatment.
Conclusion
DTF Transfers have revolutionized the custom apparel industry by offering a versatile, durable, and cost-effective solution for printing on a wide range of fabrics. Whether you're a small business owner or a DIY enthusiast, mastering DTF Transfers can open up new opportunities for creativity and profit. By following the steps outlined in this guide and avoiding common mistakes, you'll be well on your way to producing flawless prints that impress your customers and stand the test of time.