
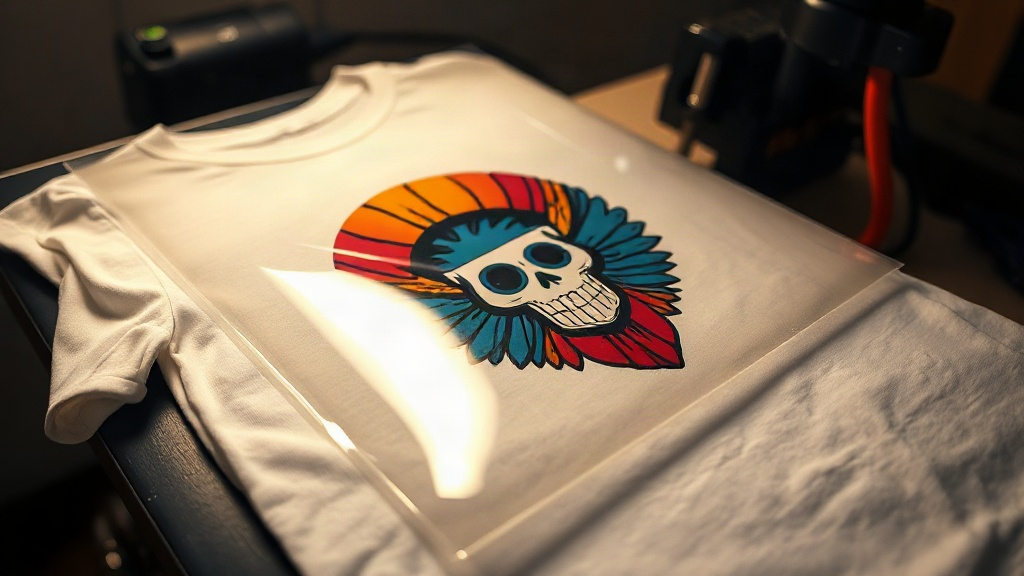
When you run a small print shop, every dollar counts. You need equipment that delivers professional results without breaking the bank. DTF transfers have emerged as a game-changer for entrepreneurs who want to offer custom apparel without the complexity of screen printing or the limitations of vinyl. Unlike other methods, DTF (Direct to Film) lets you print full-color designs on demand, with minimal setup and virtually no waste. In this guide, I'll share what I've learned from setting up my own DTF workflow, so you can avoid the mistakes that cost me time and money.
What Are DTF Transfers and Why They Matter
DTF transfers are printed designs on a special film that are then coated with a adhesive powder and heat-pressed onto fabric. The process uses a modified inkjet printer with pigment inks, printing onto a PET film. After printing, you apply a hot-melt powder, shake off the excess, and cure the powder with heat. Then you can press the transfer onto a t-shirt, hoodie, or even canvas bags. The result is a soft, stretchable print that holds up wash after wash.
What makes DTF transfers so appealing for small shops is the cost structure. You don't need screens, you don't need color separation, and you can print one-offs without minimums. That means you can take on small orders, sample requests, and personalized items that would be unprofitable with other methods. I remember when I first switched from vinyl to DTF; my turnaround time dropped from days to hours, and I could finally offer full-color photos on shirts.
Choosing the Right DTF Printer and Supplies
Not all DTF printers are created equal. For a small shop, you'll likely start with a converted Epson or a dedicated DTF printer from brands like Roland or Mutoh. The key is to have a printer with a white ink channel, because DTF requires white ink as a base for vibrant colors on dark garments. You'll also need DTF ink, PET film, and hot-melt powder. Quality supplies make a huge difference; cheap ink can clog your printhead and produce dull colors.
Printer Options: Converted vs. Dedicated
Converted printers are cheaper upfront but often require custom profiles and can be finicky. Dedicated DTF printers cost more but come with optimized settings and better support. If you're just starting, a converted Epson surecolor F2100 or P800 can work, but be prepared to tinker. I started with a converted P800 and spent weeks dialing in the settings. If I had to do it again, I'd save up for a dedicated unit like the Roland VersaSTUDIO BY-20, which is designed for DTF and easier to maintain.
Ink and Film: Don't Skimp
DTF ink is not the same as regular pigment ink; it's formulated to work with the powder and to stretch without cracking. Using third-party ink can void your warranty and cause clogs. For film, look for double-sided matte PET film; it helps the ink adhere and release properly. I've tried cheap film from online marketplaces and ended up with transfers that peeled after one wash. Now I stick with reputable brands like DTF Station or STS Inks.
The DTF Transfer Process Step by Step
Getting a perfect DTF transfer requires attention to detail. Here's the workflow I follow:
- Design preparation: Create your artwork in CMYK, but remember that DTF uses white ink as a base. Make sure your design has transparent backgrounds where needed, and mirror the image before printing.
- Printing: Load the PET film into your printer. Print the design with white ink layer first (if your printer supports it) or with white ink underneath the color. Some printers print color first, then white; check your printer's manual.
- Powder application: While the ink is still wet, sprinkle hot-melt powder over the print. Shake off excess and return it to the container for reuse. You want an even coating; too much powder leads to a rough feel.
- Curing: Place the film in a curing oven or under a heat press at 160°C (320°F) for 2-3 minutes. The powder should melt and become glossy. Don't over-cure, or the film may warp.
- Pressing: Set your heat press to 160°C (320°F) with medium pressure. Pre-press the garment for 5 seconds to remove moisture. Place the transfer on the fabric, cover with a Teflon sheet, and press for 15-20 seconds. Peel the film off warm or cold, depending on the film type.
It sounds straightforward, but each step has nuances. For example, if you don't pre-press the garment, moisture can cause the transfer to lift. I learned that the hard way on a batch of 50 shirts.
Common Pitfalls and How to Avoid Them
Even experienced printers run into issues. Here are the most common problems and solutions:
- Faded colors after wash: Usually caused by under-curing the powder or insufficient pressure during pressing. Increase curing time or pressure.
- Transfer peeling off: Often due to not enough powder or pressing at too low a temperature. Make sure the powder is evenly applied and the press is at the correct temp.
- Clogged printhead: DTF ink dries quickly. Perform daily nozzle checks and clean the printhead regularly. Use a humidifier in dry climates.
- Ghosting or double image: This happens when the film shifts during printing. Ensure the film is loaded tightly and the printer's rollers are clean.
I keep a notebook with settings for each fabric type. Cotton, polyester, and blends all behave differently. For polyester, lower the pressing temperature to 150°C to avoid dye migration.
Cost Analysis: Is DTF Right for Your Shop?
Let's break down the numbers. A dedicated DTF printer can cost between $3,000 and $15,000. Converted printers start around $1,500. Supplies: ink runs about $100 per liter, film about $0.50 per sheet, and powder about $20 per kilogram. A typical A4 transfer uses about 2ml of ink, so ink cost per transfer is roughly $0.20. Add film and powder, and you're at about $0.75 per transfer. Compare that to vinyl, which can cost $2-3 per shirt for multi-color designs. For small runs, DTF is often cheaper. Plus, you can charge a premium for full-color prints.
However, don't forget the time factor. DTF requires more steps than vinyl, but once you have a workflow, it's fast. I can produce 20 transfers in an hour, including curing. That's a profit margin I couldn't achieve with screen printing.
Frequently Asked Questions About DTF Transfers
Can I use DTF transfers on dark shirts?
Yes, that's one of the biggest advantages. The white ink base allows vibrant colors to show up on black, navy, or any dark fabric. Just ensure your printer has a white ink channel and you use enough white ink for opacity.
How long do DTF transfers last?
With proper application and care, DTF transfers can last 50+ washes. Wash inside out in cold water and avoid bleach. The print may crack if stretched excessively, but it's more durable than vinyl.
Do I need a special heat press for DTF?
A standard heat press works, but you need one with accurate temperature control and medium pressure. A swing-away press is ideal for even pressure. You'll also need a Teflon sheet or parchment paper to protect the transfer.
What fabrics work best with DTF?
DTF adheres well to cotton, polyester, blends, and even leather. For nylon, you may need a special adhesive powder. Always test on a scrap piece first.
Is DTF better than DTG?
It depends. DTG is great for 100% cotton and direct printing, but DTF offers more versatility with fabrics and colors. DTF also has a lower entry cost for small shops.
Final Thoughts: Taking the Leap
Starting with DTF transfers can transform your print shop's capabilities. It opens doors to new products and customers without huge investments. My advice: start with a small setup, master the process, and then scale. Join online communities like the DTF Printing Facebook group to learn from others. Remember, every expert was once a beginner. With patience and practice, you'll be producing stunning transfers that keep customers coming back.